Quick Answer:
Site development turns raw land into a construction-ready site through a fixed sequence: a site assessment and utility locate, clearing and grubbing, cut-and-fill rough grading, building pad compaction, utility trenching and drainage work, then finish grading. Each step depends on the one before it — grading can't start until the site is cleared, and utility trenches can't go in until the pad is roughed in. On a typical residential lot in Mid-Michigan, the full sequence runs two to six weeks depending on soil conditions, lot size, and the season; commercial sites with retention ponds or multiple utility connections take longer.
A survey crew stakes the corners of a lot on a Tuesday morning. By Thursday, an excavator is parked where the driveway will eventually sit. Between those two moments sits a stretch of work most people never see — the part of a build that happens below eye level and quietly decides whether the foundation poured six weeks later settles evenly or cracks by year three. That stretch of work is site development. If you're planning a new build on a lot in Genesee County or anywhere across Mid-Michigan, knowing what happens in what order is the difference between a schedule you can trust and one you're just guessing at.
What Site Development Actually Covers
Site development isn't one task. It's a sequence of earthwork phases that turns raw or partially cleared land into ground that can carry a foundation, a driveway, and buried utilities. Skip a step, or do them out of order, and that's usually where trouble starts. A pad compacted before the utility trenches go in has to be torn open and repaired. A lot that's rough-graded before it's properly cleared ends up pushing buried stumps and debris into the subgrade — soft spots that don't show up until months later, when the ground under a slab starts to give.
The order matters more than any single step. Treat site development as a checklist you can complete in any sequence, and rework follows close behind. The order below reflects how the work actually has to happen on the ground, not just how it reads on a proposal.
Two lots on the same street can need completely different approaches. One might sit on well-drained sandy loam. The next, over dense clay that holds standing water for days after a spring rain. Mid-Michigan's soil profile can shift within a few hundred feet in places, which is exactly why a site assessment comes before any equipment moves an inch.
Step 1: Site Assessment and Utility Locate
Before an excavator touches the ground, someone walks the site and maps it. The crew notes existing high points, low points, and where water currently moves across the lot after a rain — that becomes the baseline for the grading plan. A test pit or two shows whether they're working with sand, clay, fill dirt, or some mix of all three, and that changes how the pad gets compacted later on.
Then comes the locate. Before any digging begins, the national 811 call-before-you-dig system gets contacted so gas, electric, water, and communication lines already in the ground get marked with paint and flags. Skip this step, or rush it, and you're gambling on where a buried line actually sits. Striking one is about the most preventable kind of damage a construction site can suffer.
TIP: Request the utility locate at least a few business days before ground work is scheduled to start. Locate requests typically take two to three business days to process, and building that lead time into the schedule keeps a stalled start date from catching anyone off guard.
Step 2: Clearing and Grubbing
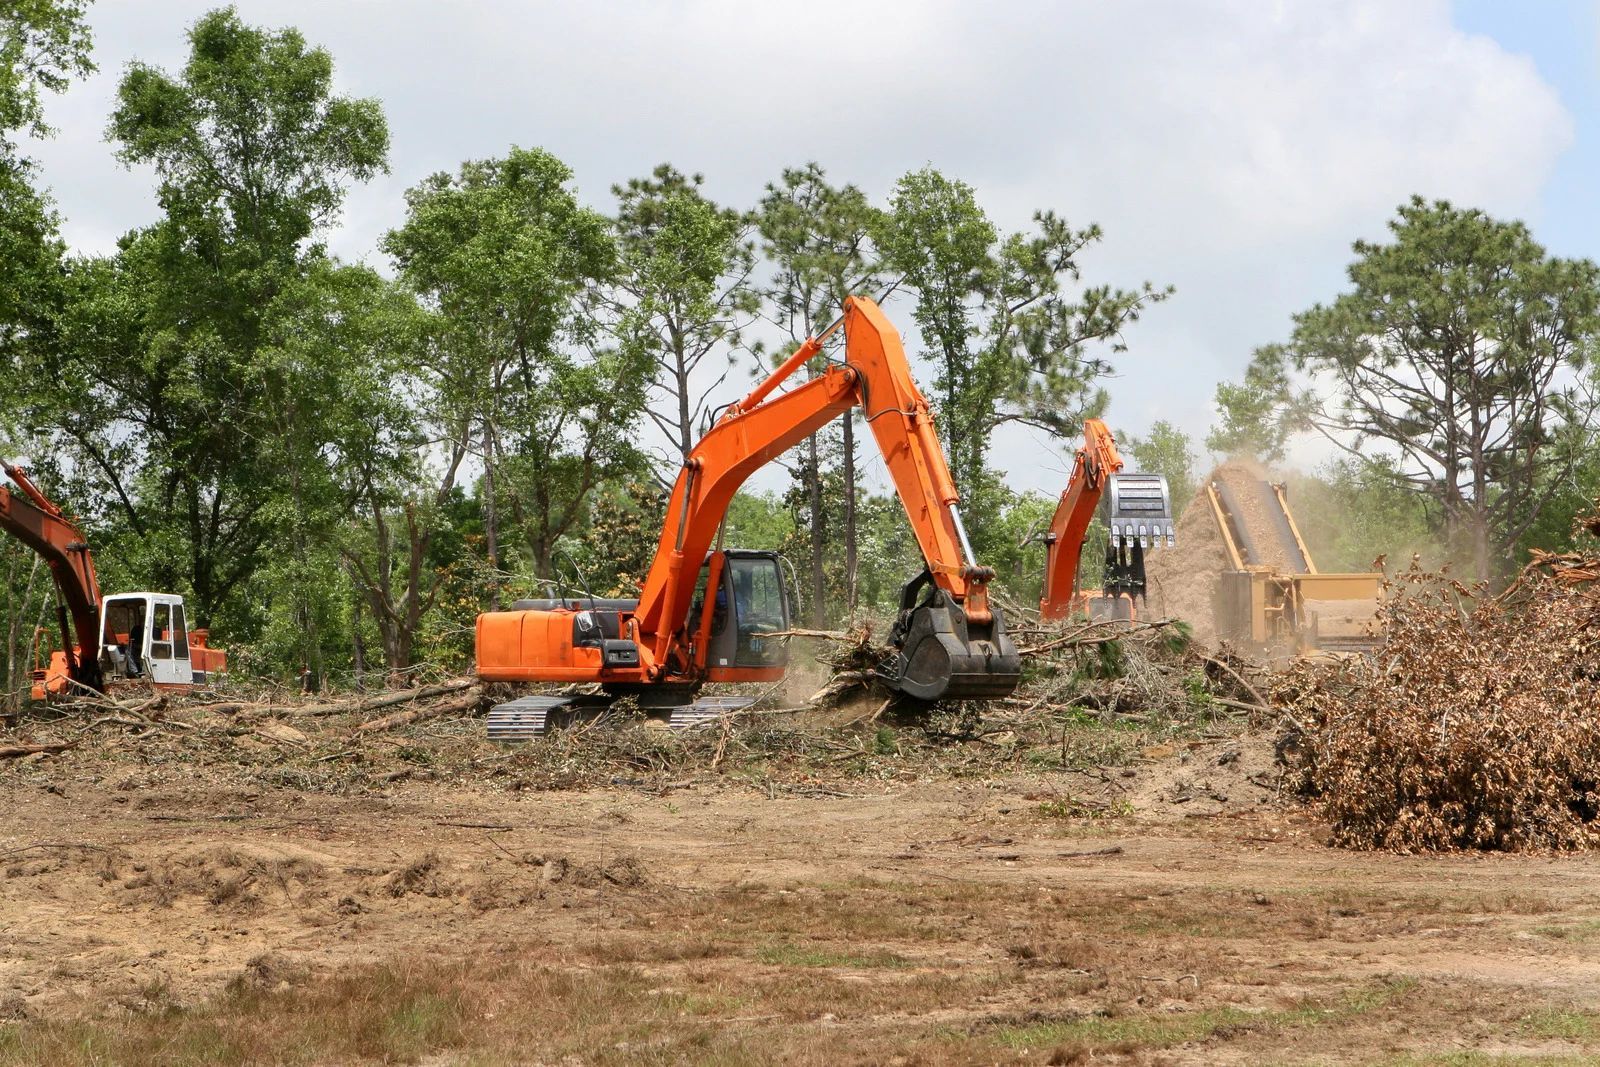
Once the assessment wraps, equipment moves in to clear the surface. Clearing takes out trees, brush, and surface debris. Grubbing goes a layer deeper — pulling stumps and root systems out of the ground so they don't sit there rotting under a future foundation or driveway, leaving a void behind once they finally break down.
Skipping grubbing to save a day is one of the more common corners cut on a rushed job. It's also one of the pricier mistakes to fix once a slab has already been poured over a stump that's still decomposing underneath it. Cleared vegetation and stumps get hauled off site rather than buried on the property — buried organic material breaks down over years and settles exactly where nobody wants it, under a pad or driveway.
Step 3: Cut, Fill, and Rough Grading
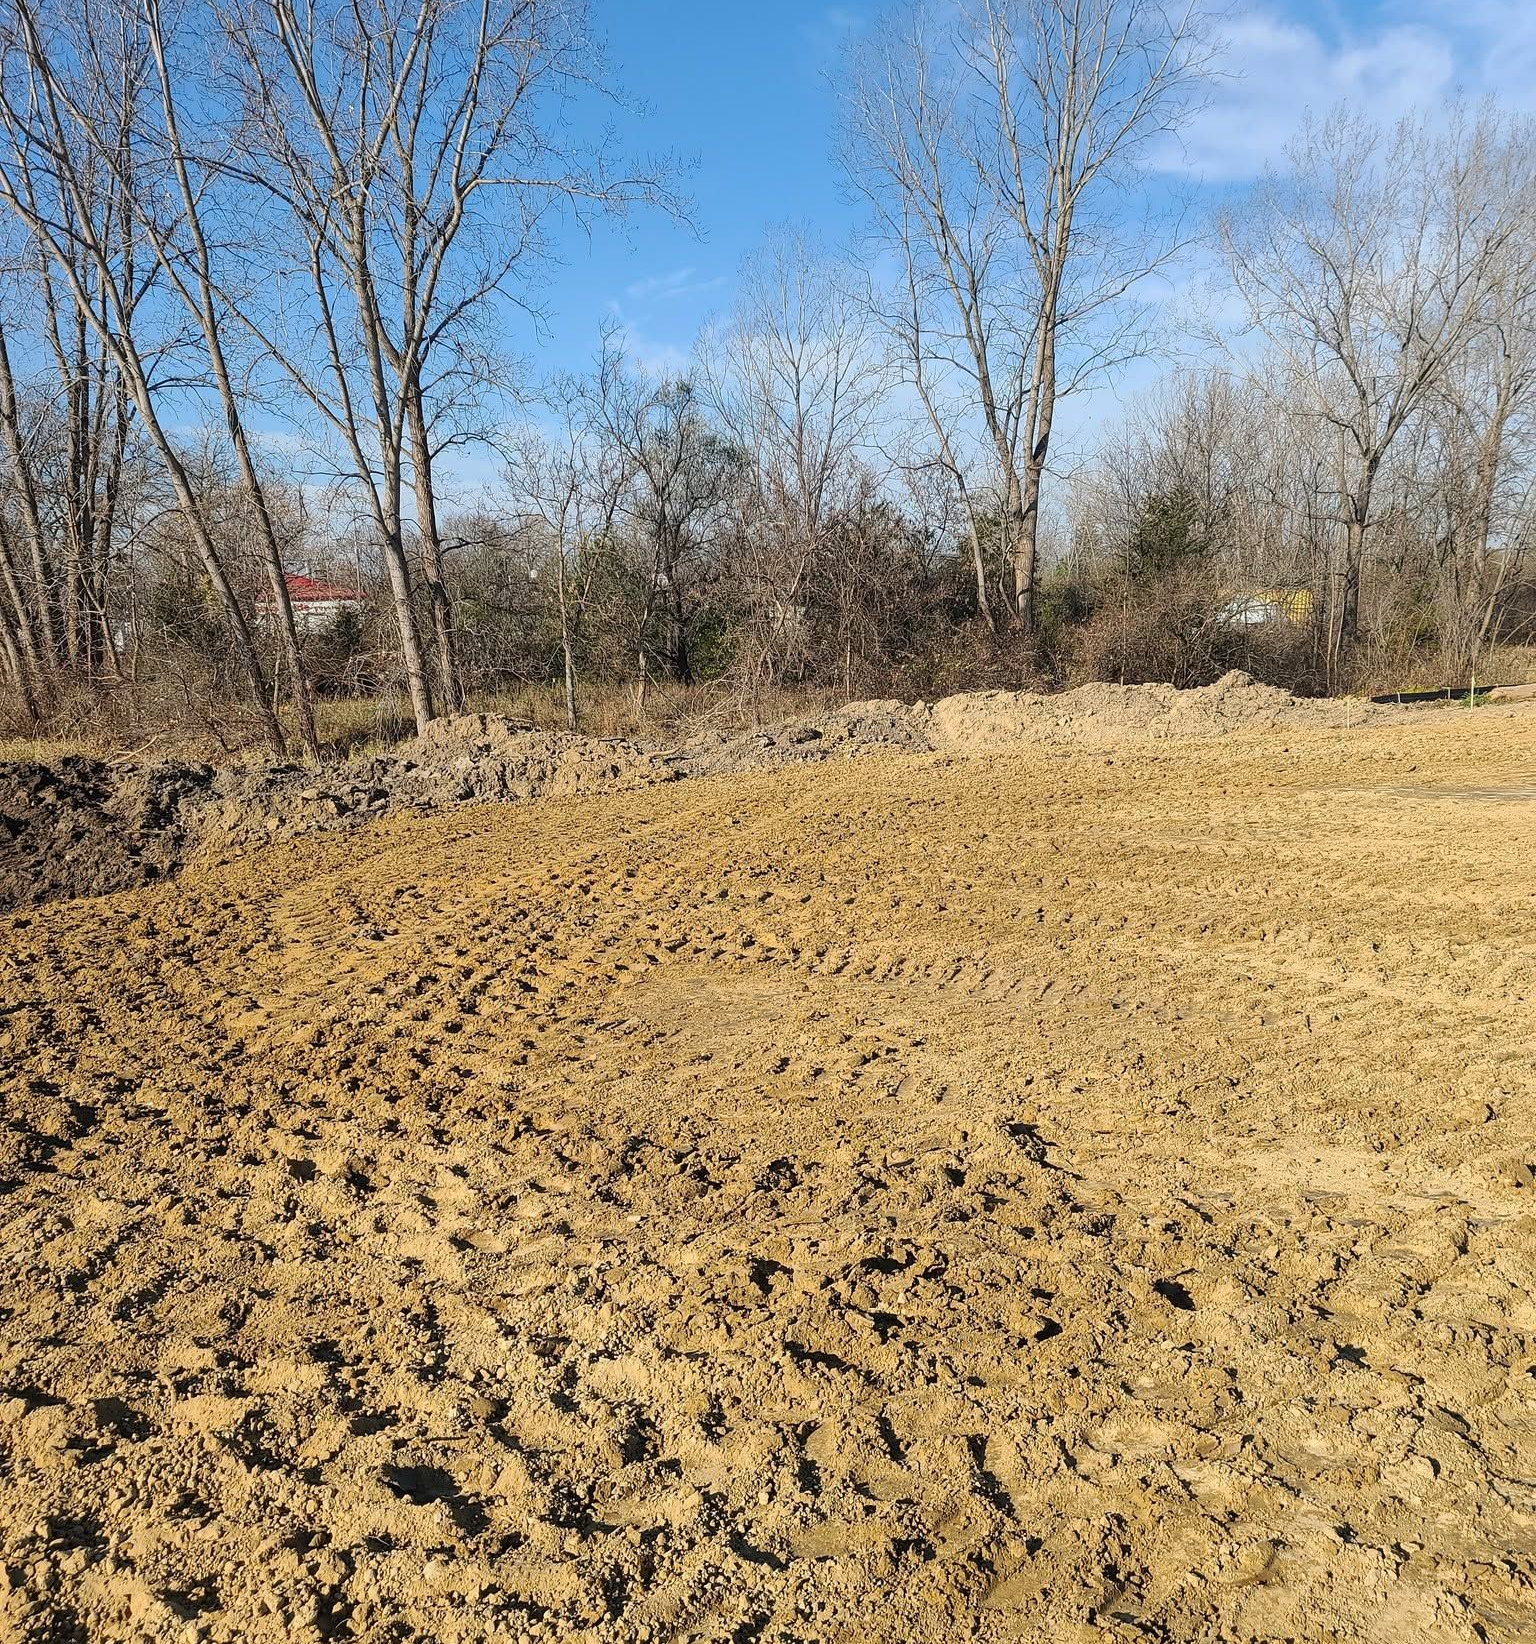
With the site cleared, the crew reshapes the land to match the site plan. Cutting removes soil from the high points. Filling brings soil into the low ones, ideally balancing the two so there's little material left to haul in or off the property. Rough grading then establishes the general slope — enough definition to show where the building pad, driveway, and drainage paths will sit, without the tight tolerances that come later in the process. Retention or detention areas, if the site plan calls for them, typically get roughed in here too.
If a test pit turned up soft, saturated ground during the assessment, this is the phase where that soil gets pulled out and swapped for structural fill instead of just compacted as-is. Compacting unstable soil doesn't fix the problem. It buries it.
Step 4: Building Pad Preparation and Compaction
The building pad is the platform the foundation will sit on, and it gets built in layers, not all at once. Fill goes down in lifts — usually eight to twelve inches at a time — with each layer compacted before the next one goes on top. Compact the whole depth in one pass and the lower layers stay loose, which is exactly the setup that leads to uneven settling under a slab or footing years down the road.
Moisture content matters more than most people expect. Soil that's too dry won't bind together under a compactor. Soil that's too wet just squishes into a dense mass that can still shift as it dries out later. Getting that balance right — sometimes by working the ground on a dry day, sometimes by wetting it down first — is part of what separates a pad that holds for decades from one that needs releveling in five years.
Clay is its own animal here. A lot of Mid-Michigan sits over glacial till with a heavy clay component, and clay holds water differently than sandy soil — it swells and shrinks with the seasons in a way sand simply doesn't. Building pads on clay-heavy lots often need extra lifts and closer compaction checks to hit the density a foundation design calls for.
Step 5: Utility Trenching and Drainage
With the pad taking shape, trenches go in for water, sewer, and other underground utilities. Depth accounts for frost here — in Mid-Michigan, buried water lines need to sit well below the frost line, commonly three to four feet down depending on soil and exposure, or they risk freezing and bursting the first hard winter. Drainage infrastructure tends to go in alongside those utility lines. Swales, culverts, and catch basins that carry water away from the building pad usually get installed in this same phase, since opening one trench for several lines beats coming back later to reopen graded ground that's already been finished.
WARNING: Utility trenches left open near a building pad after a heavy rain can undermine the compacted soil right next to them. If wet weather is in the forecast, backfilling and compacting a trench promptly protects the work that's already gone into the site.
Step 6: Finish Grading and Site Handoff
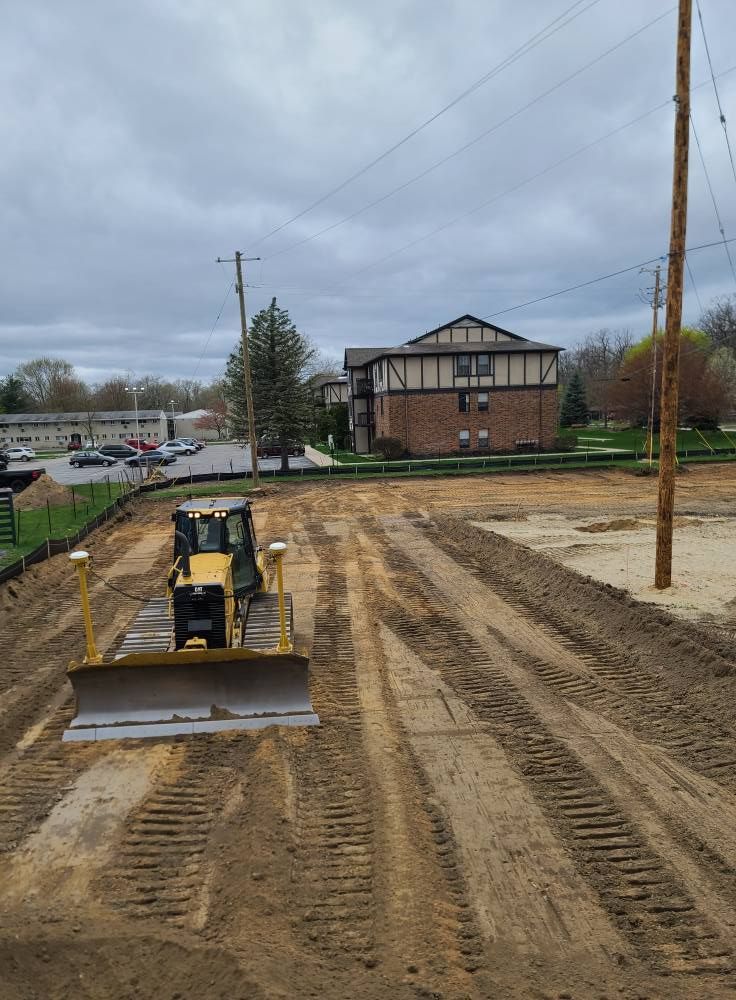
The last phase brings the site to its final elevations and slopes. Finish grading is measured in fractions of an inch, not the broader tolerances rough grading allows, and it's what actually controls where water goes once construction wraps up. A quarter-inch of slope in the wrong direction toward a foundation wall can mean standing water at the base of a brand-new build within the first year.
Once finish grading checks out against the site plan, the lot gets handed off to the framing or foundation crew. Site development is largely done at that point — until landscaping picks back up once the structure is standing.
How Long Site Development Takes
Timelines vary lot by lot, but a residential site with average conditions typically moves through the full sequence in two to six weeks. Commercial sites with retention ponds, longer utility runs, or multiple building pads take longer — often several weeks to a couple of months, depending on scope. Season plays a real role here. Frozen ground in winter and saturated ground during spring thaw both slow excavation and grading work down. Summer and early fall tend to offer the steadiest conditions for staying on schedule.
Frequently Asked Questions
What's the first step in site development for a new build?
The first step is a site assessment paired with a utility locate. A crew walks the property to note topography, drainage patterns, and soil conditions, while the 811 system gets contacted to mark any buried utilities already on the lot before equipment moves in.
How long does site development take before construction can begin?
Most residential lots move through the full site development sequence in two to six weeks, depending on lot size, soil conditions, and the season. Commercial sites with stormwater infrastructure or multiple utility connections generally take longer.
What's the difference between clearing and grubbing?
Clearing removes surface vegetation like trees and brush. Grubbing goes further, removing stumps and root systems below the surface so they don't decompose under a future foundation or driveway and create voids that lead to settling.
Why does utility locating happen before any excavation starts?
Utility locating marks the position of buried gas, electric, water, and communication lines so equipment operators know exactly where not to dig. Striking an unmarked line is one of the most common and preventable causes of damage and delay on a construction site.
How does clay soil affect site development timelines?
Clay-heavy soil, common across Mid-Michigan glacial till, holds water differently than sandy soil and can require additional compaction lifts and checks to reach proper density. Wet spring conditions can also slow grading work on clay lots more than on well-drained ground.
What's the difference between rough grading and finish grading?
Rough grading establishes the general shape and slope of a site — enough to locate the building pad, driveway, and drainage paths. Finish grading refines those elevations to much tighter tolerances and is what actually controls where water drains once construction is complete.
Ground That's Ready Before the First Wall Goes Up
Most of the work described above happens before anyone involved in a project ever sets foot on the finished site. But it's the reason a foundation stays level, a driveway doesn't heave, and a basement stays dry through its first few Michigan winters. Getting the sequence right the first time costs less than fixing a rushed pad or a mis-sloped trench after the framing crew has already moved in — that's just how it works with anything buried underground.
Share your lot's size, soil conditions, and build timeline with Phillips Trucking and Excavating
in Swartz Creek, Michigan, and get a sequenced plan covering everything from utility locates through finish grading. We bring 26
years of excavation experience and the equipment to carry a project from raw land through utility installation without bringing in a second contractor. Request a
site development
quote or schedule a site visit to get started.